IPFire Firewall on Proxmox
Installing IPFire Firewall on Proxmox
IPFire is a powerful open-source firewall that can be installed on both 32-bit and 64-bit systems. If you have an old PC lying around, you can repurpose it as a firewall. IPFire is known for its flexibility, and it’s great for securing networks in both home and small business environments.
- Open-source: It’s free and constantly updated by the community.
- Security: Offers strong protection for your network with features like intrusion detection, VPN, and more.
- Customizable: It can be tailored to your specific network needs.
Download the ipfire ISO
To get started, you’ll need to download the IPFire ISO. Run the following command to download the ISO directly to your Proxmox storage:
1
wget -O /mnt/pve/$storage/template/iso/ipfire-2.29-core188-x86_64.iso https://downloads.ipfire.org/releases/ipfire-2.x/2.29-core188/ipfire-2.29-core188-x86_64.iso
creating the vm
To create a virtual machine (VM) for IPFire in Proxmox, follow these steps:
- Click on Create VM.
- Go to the General tab and set the preferred VM ID and name.
- In the OS section, choose the downloaded IPFire ISO from $storage.
- Set up the disk as per your requirements in the Disk section.
- Configure CPU and Memory depending on your system needs.
Once the VM is created, add two network interfaces: one for WAN and one for LAN.
System Requirements
| Component | Minimum Requirements | Recommended Requirements |
|---|---|---|
| Processor (CPU) | 1 GHz single-core | Multi-core (2+ cores) with AES-NI support |
| Memory (RAM) | 1 GB | 2-4 GB or more, especially for IDS/IPS, VPN |
| Storage | 4 GB (HDD/SSD) | 20 GB SSD for better performance and longevity |
| Network Interface | At least 2 NICs (10/100 Mbps) | 2 NICs (Gigabit) Intel or Broadcom NICs for reliability |
If you prefer to install IPFire on bare metal, you can create bootable media. Visit the official IPFire Download page and grab the ISO image according to your system architecture.
Installing the distribution
Once the vm is created and the two networking nics are attached start the vm.
Next, choose the Language as respective to your region.
At this step, you can see that, if you do not wish to continue the setup you can Cancel the setup and reboot the machine.
Accept the license by pressing the Space bar to choose, and press OK to continue.
The system will format your disk to install the IPFire system. Please note that all data on the disk will be erased.
Next, choose the file system as EXT4 and continue to the future steps.
Once, you select the filesystem type, the installation begins and disk will be formatted and system files will be installed.
Once installation completes, press OK to reboot to finalize the installation and continue with the further installation to configure ISDN, network cards, and system passwords.
After the system reboot, it will prompt you IPFire boot menu option, select the default option by pressing the enter key.
choose the keyboard layout from the drop-down list as shown below. and choose the time zone you preffered
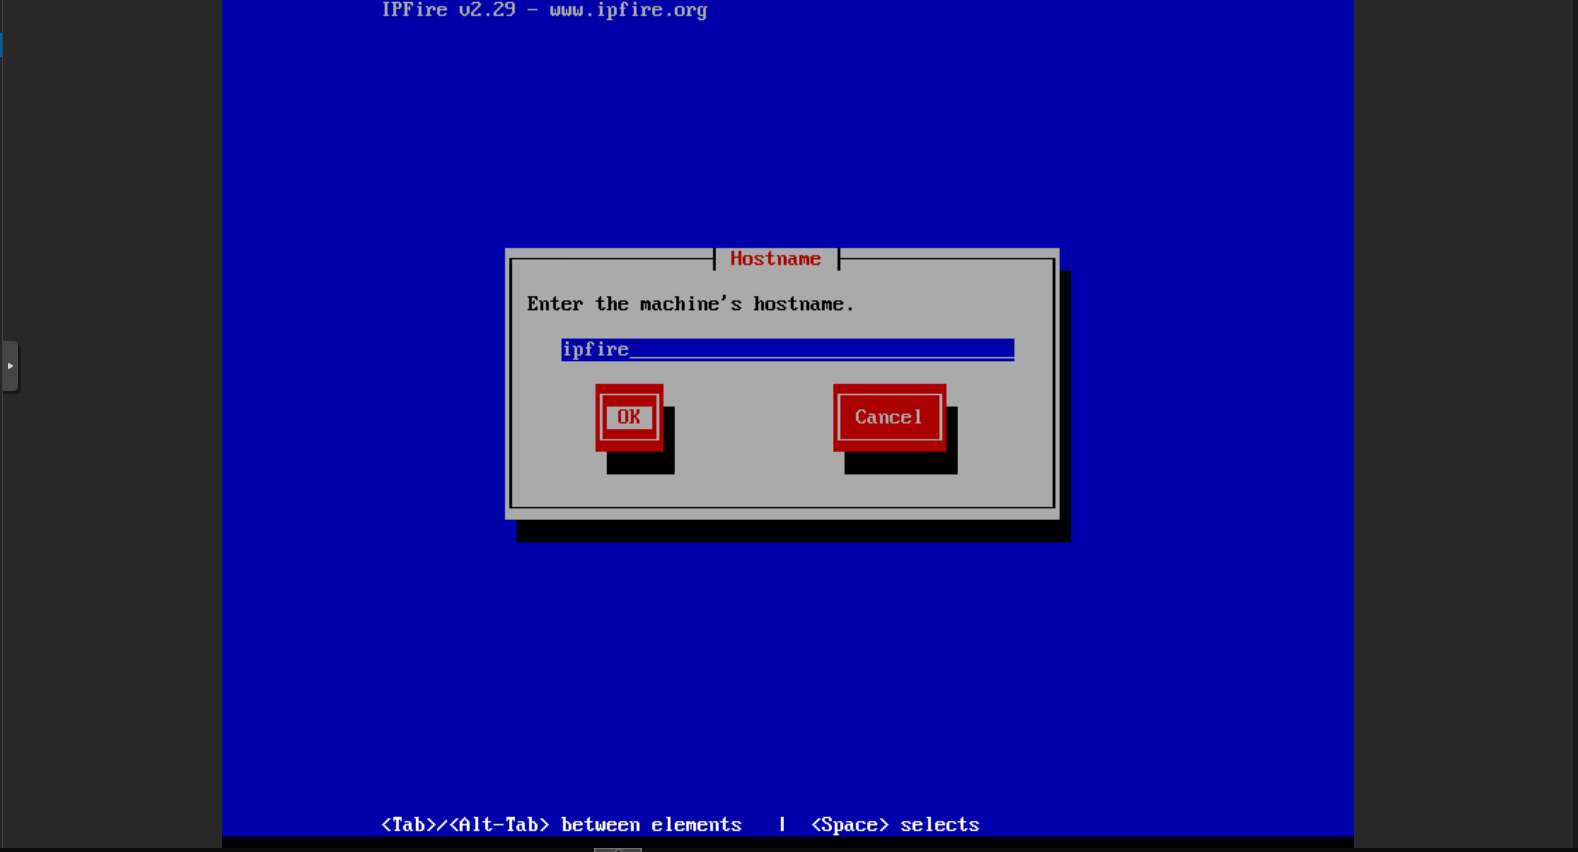
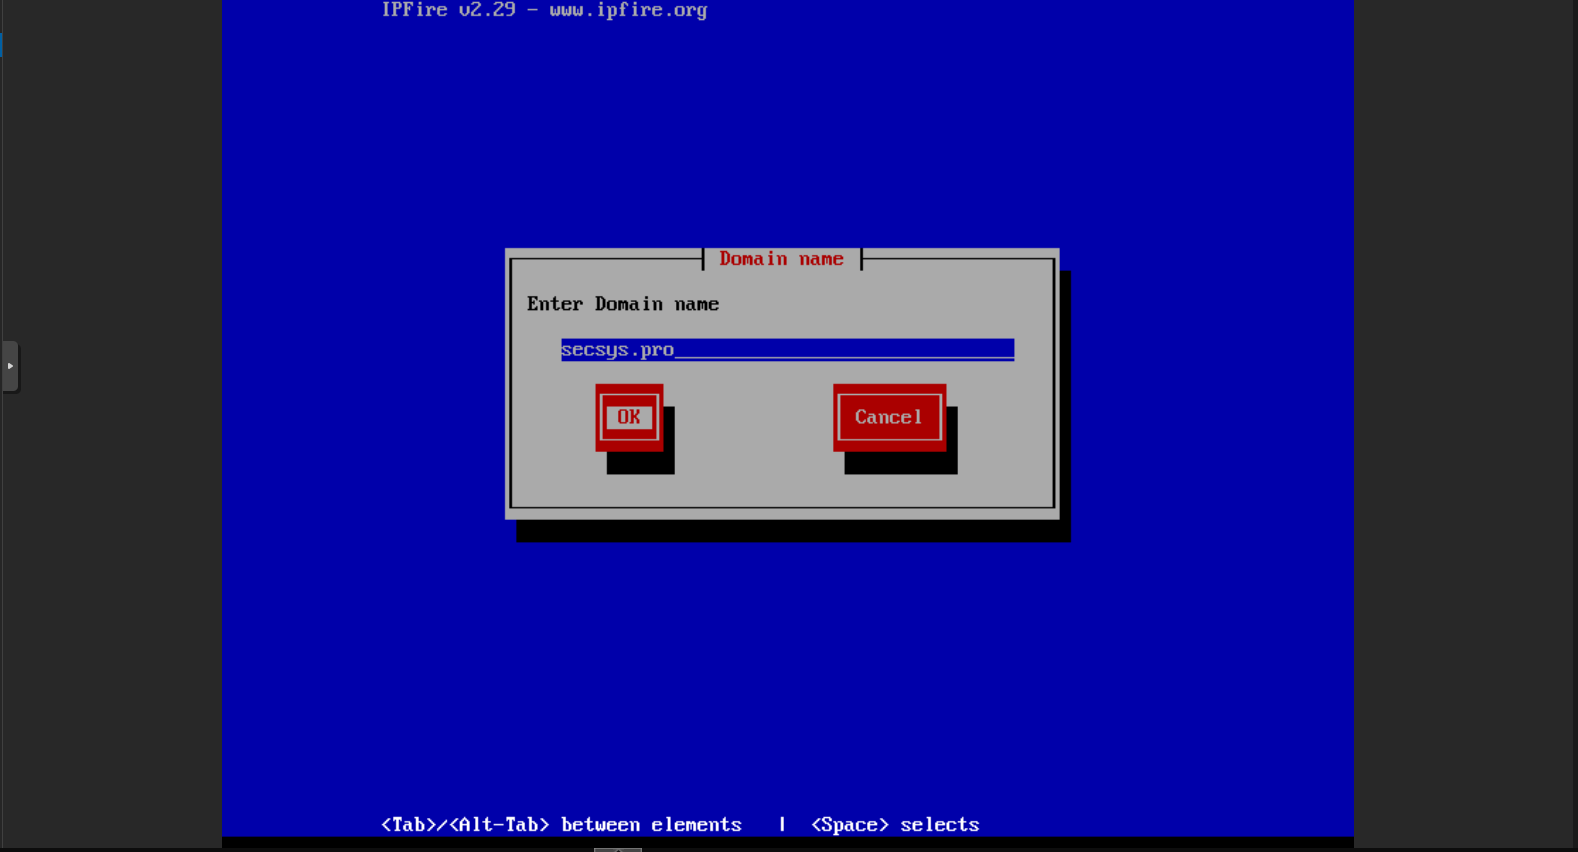
Choose a hostname for our IPFirewall machine. By default, it will be ipfire. I’m not going to make any changes in these steps. and Give a valid domain name, if you have a local DNS server or we can define it later. Here, I am using “secsys.pro” as my local DNS server domain name.
Enter a password for the root and admin user, This will be used for command-line access and provide a password for the admin user for the IPFire GUI web interface. The password must be different from the command line access credentials for security reasons.
IPFire Network Configuration Settings
During IPFire installation, the network is configured into various segments. This segmented security scheme indicates that there is a suitable place for each system in the network and it can be enabled separately as per our requirements.
Each segment acts as a group of machines that share a common security level, which is described in four different colors of zones i.e. Green, Red, Blue, and Orange.
- Green – This represents that we are in a safe area. Clients in the Green area will be without any restrictions and connected internally/locally.
- Red – This indicates that we are in danger or disconnected from the outside world; nothing will be allowed through the firewall unless specifically configured by the admins.
- Blue – This represents the ‘wireless‘ network, which is used for the local area network.
- Orange – This refers to the ‘DMZ‘ (demilitarized zone). Any servers that are accessible publicly are separated from the rest of the network to minimize security breaches.
Once the Network configuration type is selected then network cards to each adaptor RED and Green zones
Assign IP Addresses for Network Interfaces
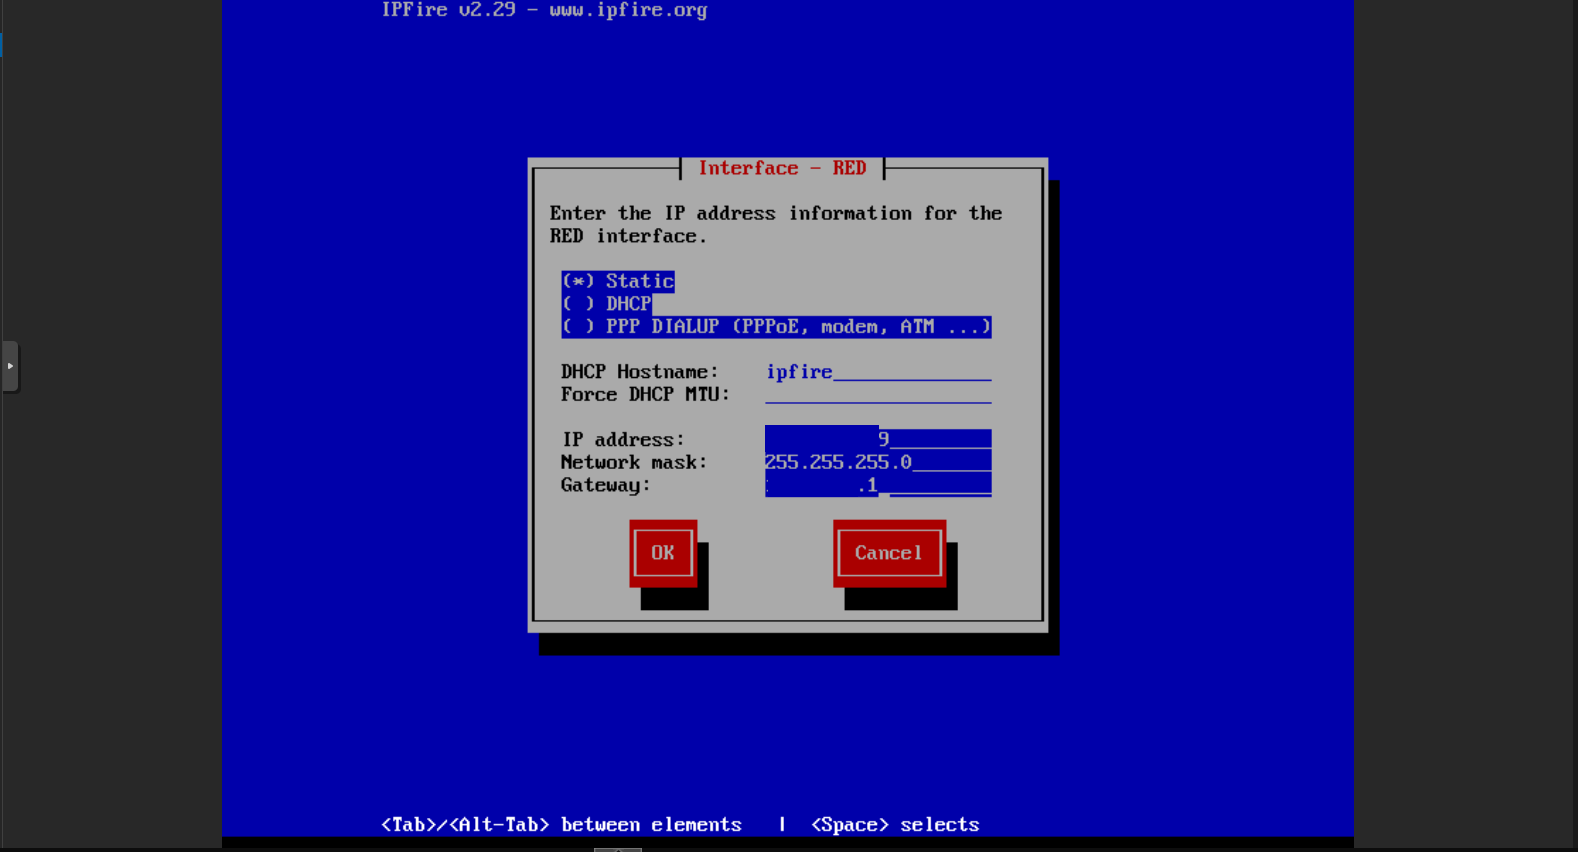
Here we have only 2 interfaces and we need to assign IP addresses in different sub-nets one for the RED zone and another for Green zone
If we use 192.168.0.100 for the RED interface, we must use different IP and network for other interface. For the RED interface we going to use static IP address for both RED and green zones
If you want to enable the DHCP for the GREEN interface for the local/internal interfaces you can can configure the DHCP pool range as i am using the tp-link (TL-S3210) for DHCP service will skip the DHCP.
We have almost completed our setup, Choose OK to complete the IPFire setup.
Accessing Web interface
To access the web interface connect to the green network and enter https://$I:444/ with the username as “admin” and the password that we’ve set at above.
conclusion
IPFire is a versatile firewall solution suitable for various environments. Whether you are setting it up for home or small business use, its security features, flexibility, and community-driven updates make it a great choice for protecting your network. for more settings and customization please reffer the official IPfire documentation


