Medicat
Installing MediCat
In this guide, we’ll walk through the steps to install MediCat on a USB drive. MediCat is a powerful tool for diagnostics, troubleshooting, and recovery.
Prerequisites
Before we begin, make sure you have the following:
- A USB drive with at least 32GB of space (Recomended 64GB)
- A USB drive with Ventoy already installed (Recomended)
- A downloaded archive of MediCat (~22GB)
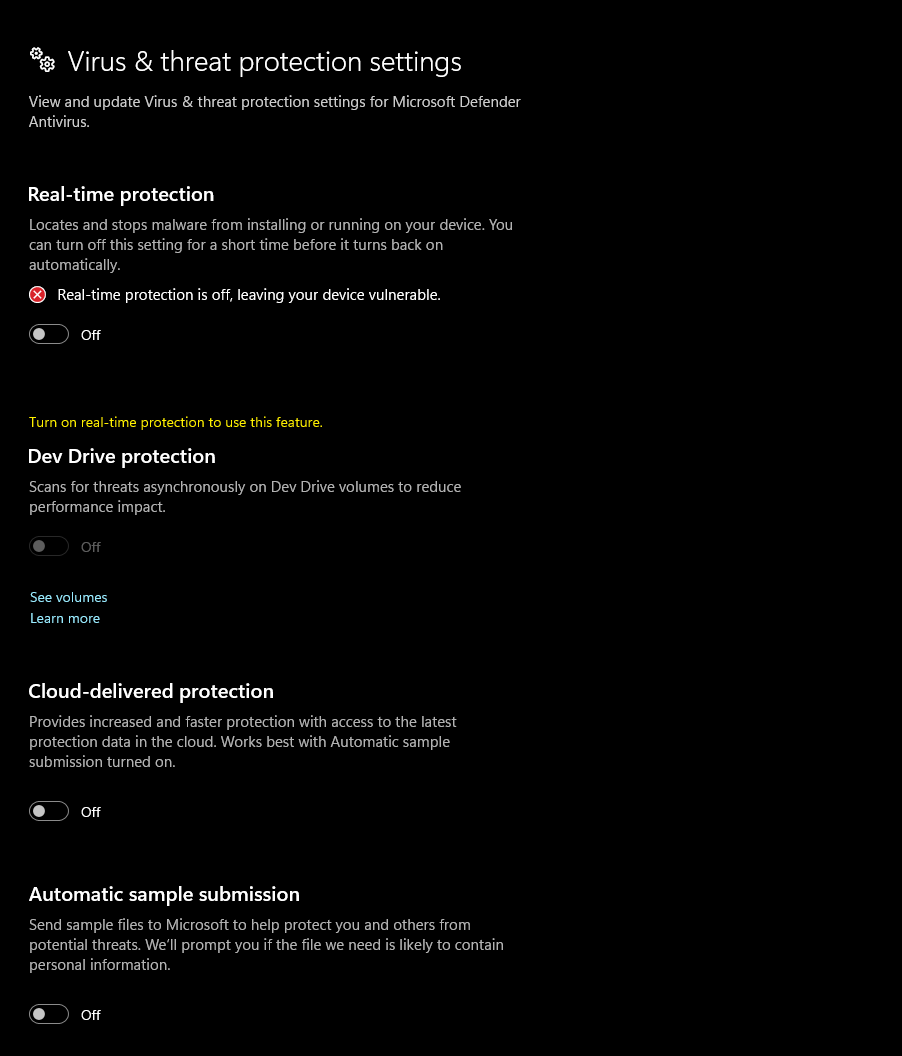
- Windows Defender and other antivirus tools temporarily disabled (since they may interfere with the installation process)
Please select the USB drive carefully during the installation process, as the disk will be completely wiped.
Step 1: Preparing the USB Drive
To start, you’ll need to install Ventoy on your USB drive. Ventoy is a tool that allows you to create a bootable USB drive that can host multiple ISO files without reformatting the drive.
Begin by downloading the latest version of Ventoy from the official website. Once downloaded, extract the Ventoy archive to a folder on your computer.
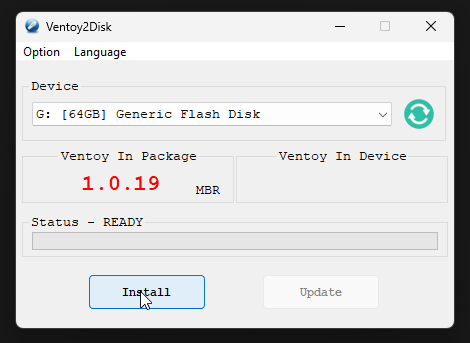
In the extracted folder, locate and run the Ventoy2Disk.exe (or the corresponding executable for your operating system).
Next, select the USB drive you want to use with Ventoy. Be cautious when choosing the drive, as this process will format it. After confirming that you’ve selected the correct drive, click the “Install” button. The tool will prompt you to confirm the installation, warning that all data on the USB drive will be erased. Confirm and proceed.
Once the installation is complete, you will see a success message. Your USB drive is now ready with Ventoy installed.
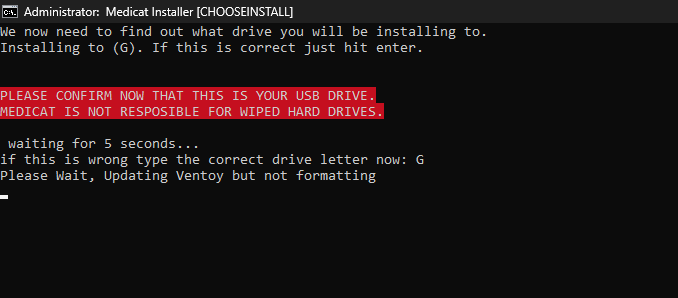
Since we’ve manually installed Ventoy, there’s no need to format the USB drive again. Additionally, it’s important to temporarily disable Windows Defender and any other antivirus tools because they may interfere with the installation process.
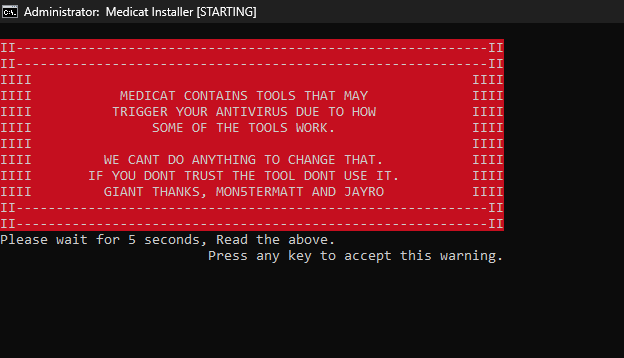
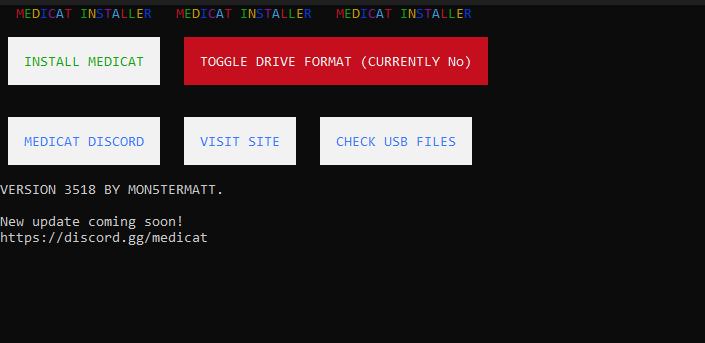
After disabling Windows Defender, you can proceed by launching the MediCat installer and accepting the license agreement.
Step 2: Installing MediCat
The installer will prompt you to select the disk where MediCat will be installed. Double-check that you have selected the correct drive to avoid any data loss. During the installation of MediCat, you have the option to disable drive formatting. This step is crucial if you have already installed Ventoy, as formatting the disk would remove Ventoy from the USB drive. Make sure to disable formatting before proceeding.
Step 3: Handling the MediCat Archive
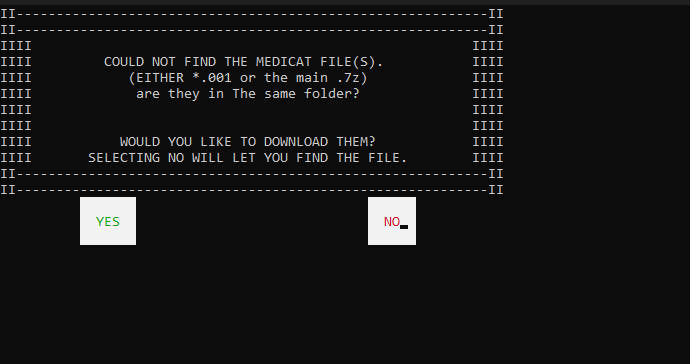
If you already have the MediCat archive downloaded (approximately 22GB), select “No” when asked to download it during the installation process. Then, manually select the downloaded file. This saves time, as downloading it again would take a while.
If you haven’t downloaded the archive yet, you can opt to download it during this step, though it will extend the installation time.
Step 4: Finalizing the Installation
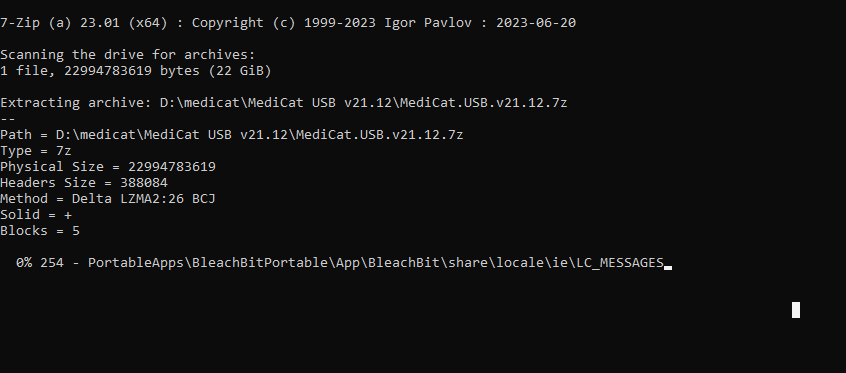
Once you’ve selected the MediCat archive file (or downloaded it), the installer will begin the installation process. If you’ve chosen the “Download Now” option, the file will be downloaded first, and then the installation will proceed.
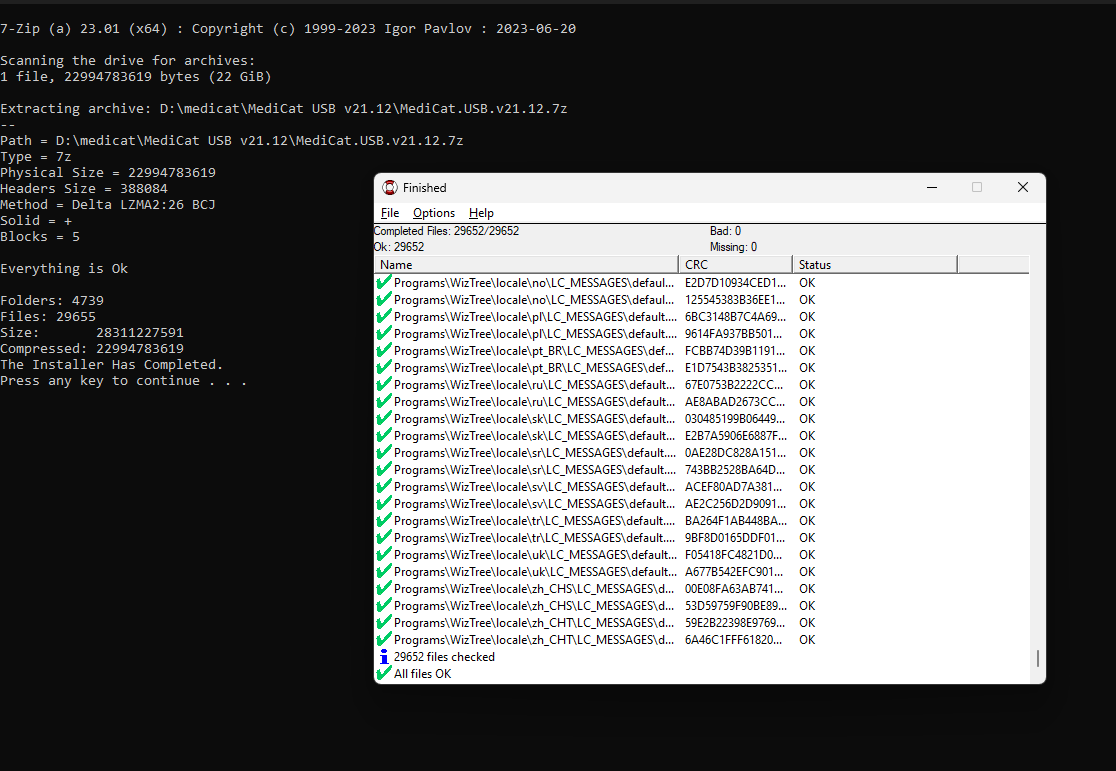
As medicat needs to install/configure the 22GB archive it’s took me about 2 hour 40 minutes to complete the installation/checks.
Congratulations! You’ve successfully installed MediCat on your USB drive.
