Installing Parrot OS on Proxmox VM
Installing Parrot OS on Proxmox
In this guide, we’ll walk through the process of installing Parrot OS on a Proxmox virtual machine. Parrot OS is a popular security-focused operating system, and running it on Proxmox allows you to experiment within a virtualized environment.
Step 1: Download the Parrot OS ISO
First, download the Parrot OS ISO from the official website. Below is the command for downloading the ISO directly to your Proxmox server:
1
wget -O /mnt/pve/$storage/template/iso/Parrot-security-6.1_amd64.iso https://deb.parrot.sh/parrot/iso/6.1/Parrot-security-6.1_amd64.iso
This will save the ISO file to your Proxmox storage.
Step 2: Create a Virtual Machine on Proxmox
Once the ISO is downloaded, go to the Proxmox web interface and click on the “Create VM” button to start creating a new virtual machine.
- Name your VM: In the General tab, give your VM a name, for example, “Parrot OS.”
- Select ISO image: Under the OS tab, select the Parrot OS ISO that you just downloaded. Keep the system settings as default.
- Configure Disk: Parrot OS requires a minimum of 16 GB of disk space, but for this setup, we’ll allocate 100 GB. Choose the storage location, format it to QCOW2, and configure the disk settings
- Allocate CPU and Memory: Assign the number of cores and memory for the virtual machine according to your requirements. For a smooth experience, you can allocate 2 cores and 4 GB of RAM.
- Review and Confirm: Review the VM configuration and check the box that says “Start after created” to boot the VM automatically after creation.
Step 3: Install Parrot OS
Once the VM is created and booted, open the console from the Proxmox interface.
- Boot into the Installer: When the VM starts, you’ll see the Parrot OS boot menu. Select the “Try/Install” option to begin the installation process.
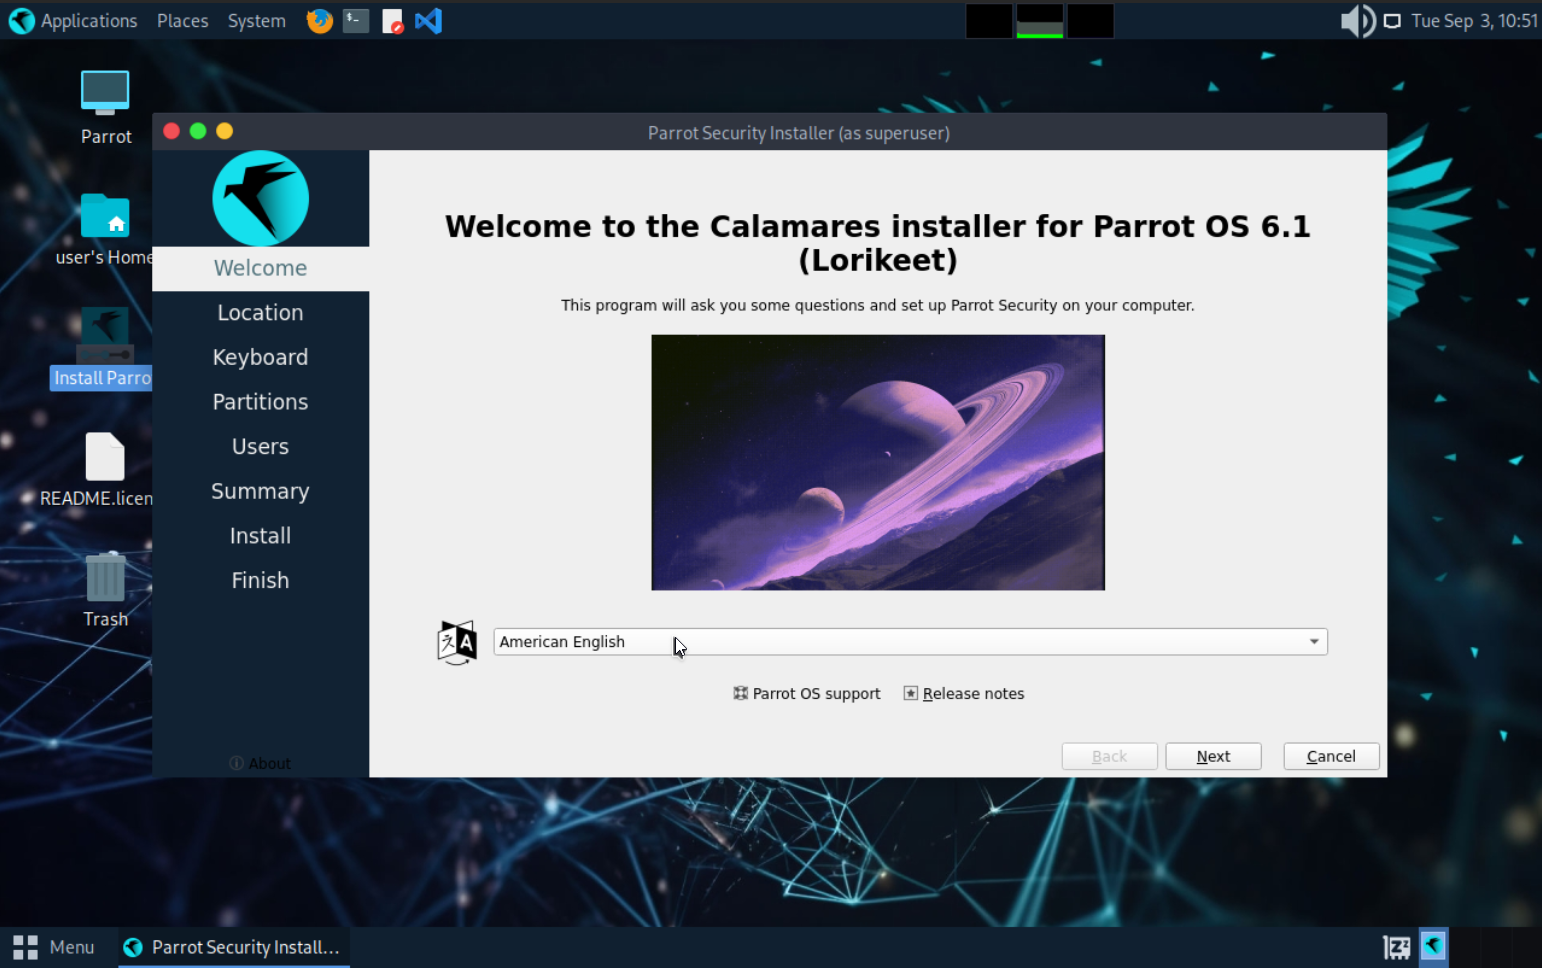
- Select Preferences: Choose your preferred language, location, and keyboard layout.
- Disk Partitioning: Erase the disk and select “Swap to a file” for swap management. Create a user account and verify the settings.
- Complete Installation: Once you confirm the settings, the installation will begin. After the installation is complete, the VM will reboot, and you’ll be ready to use Parrot OS on Proxmox.
Step 4: Post Installation
Once the installation is completed open the terminal and perform the update to update the security patches
1
sudo apt update && sudo apt upgrade -y && sudo apt dist-upgrade -y && sudo apt autoremove -y && sudo apt autoclean -y && sudo apt clean -y
For advanced configurations, such as customizing the installation further or troubleshooting, refer to the official Parrot OS installation guide.


