Portainer
In the world of modern application development, containers have become the go-to solution for deploying, scaling, and managing software. However, managing these containers can be complex, especially as environments grow in size and complexity. This is where Portainer comes in—a powerful and user-friendly container management platform designed to streamline containerized application management across various environments, including cloud, datacenters, and Industrial IoT.
What is Portainer? Portainer is a container management tool that offers a web-based interface for managing Docker environments and Kubernetes clusters. Its simplicity makes it accessible to both beginners and experienced users, providing all the features necessary to deploy, troubleshoot, and secure applications effortlessly.
Core Features of Portainer Portainer’s primary goal is to simplify the management of containerized environments. It achieves this through a range of features tailored to different use cases.
Container Management Deploying containers with Portainer is a breeze, whether you use pre-configured templates or custom configurations. You can manage Docker images, networks, volumes, and services, all from a central dashboard. For multi-container applications, Portainer allows easy management using Docker Compose or Kubernetes manifests, and it provides real-time visibility into the performance of your containers.
Prerequisites
- Docker Engine and Docker Compose packages are installed and running
- A non-root user with Docker privileges
Setting up the portainer Server
Create the directory structure
To keep the docker directory clean i have created a portainer directory to store the configuration file. My file structure is as follows:
1
2
mkdir ~/docker/portainer/data
touch ~/docker/portainer/docker-compose.yml
1
2
3
4
5
6
7
8
9
10
11
12
13
14
15
16
17
18
19
20
21
📂portainer
|--📂 data
|   |--📂 backups
|   |   |--📂 common
|   |   |   |-- portainer.db.2.19.1.20231204141757
|   |   |   `-- portainer.db.2.19.4.20240423030116
|   |   `-- portainer.db.bak
|   |--📂 bin
|   |--📂 certs
|   |   |-- cert.pem
|   |   `-- key.pem
|   |--📂 chisel
|   |   `-- private-key.pem
|   |--📂 compose
|   |--📂 docker_config
|   |   `-- config.json
|   |-- portainer.db
|   |-- portainer.key
|   |-- portainer.pub
|   `--📂 tls
`--📑 docker-compose.yml
Docker Configuration
With the directory structure in place, let’s edit the docker-compose.yml file using your favorite text editor. Here’s an example configuration:
1
2
3
4
5
6
7
8
9
10
11
12
13
14
15
16
17
18
19
services:
  portainer:
    image: portainer/portainer-ce:latest
    container_name: portainer
    restart: unless-stopped
    security_opt:
      - no-new-privileges:true
    networks:
      - proxy
    volumes:
      - /etc/localtime:/etc/localtime:ro
      - /var/run/docker.sock:/var/run/docker.sock:ro
      - ./data:/data
    ports:
      - 9443:9443
      - 9000:9000
networks:
  proxy:
    external: true
Verify and launch the container
to verify the docker compose files has no issues use docker compose config Once you have the docker-compose.yml file you can run docker-compose up -d which will create the volume, download the image and start the container in the background
To verify the status of all running containers, run the docker-compose command:
1
docker-compose ps (OR) docker ps -a
If something goes wrong, you can check the logs for each container using the docker logs command and specify the service name. For example, to check the log of the Nginx Proxy Manager container, run the following command:
1
docker logs $container (OR) docker compose logs -f
Accessing the Portainer dashboard
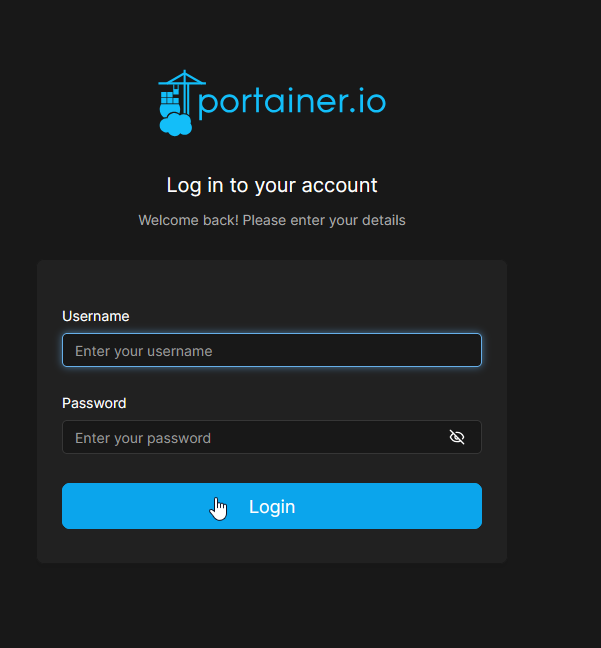
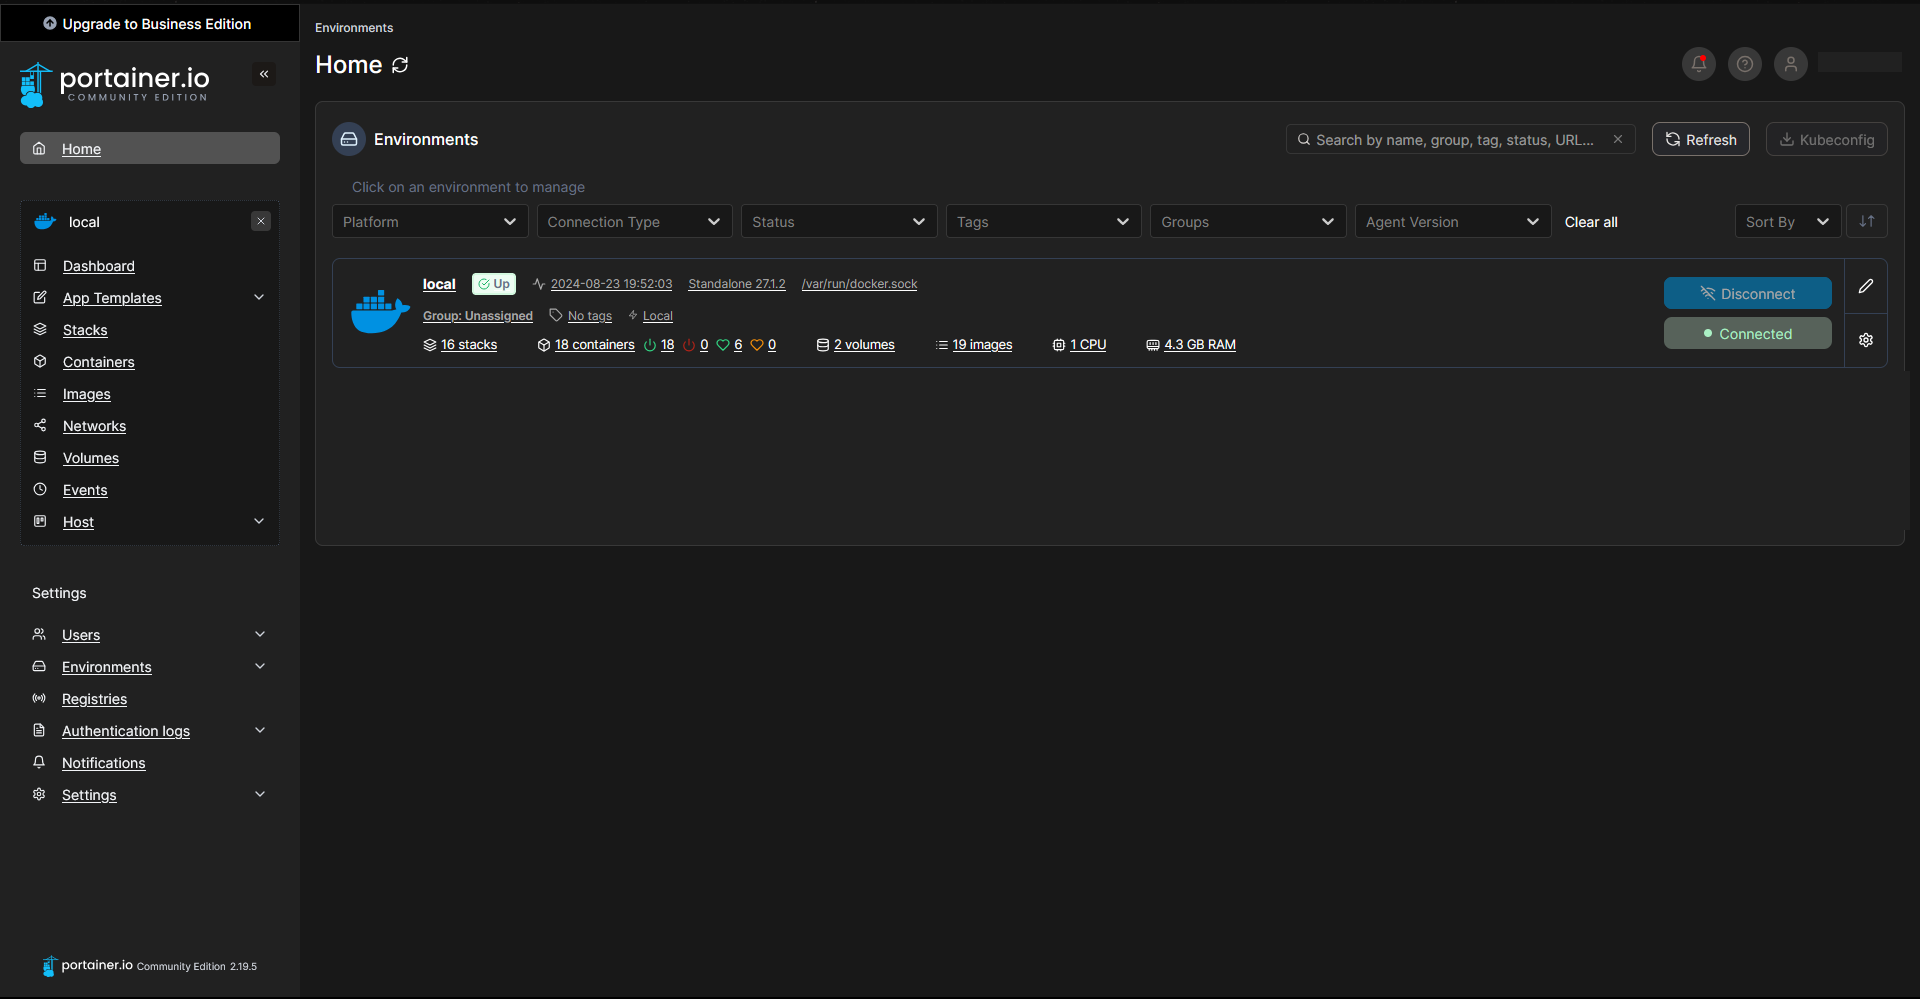
If all is well, you can locally view your portainer Server by navigating to http://localhost:9443. You should see something that looks like the following. The first time you access Portainer, the system asks to create a password for the admin user. Type the password twice and select the Create user button. once you login you can able to access the portainer
For a more detailed guide, you can check the official documentation at Portainer Documentation.
Launching the nginx container
After setting up Portainer, you can verify that everything is working as expected by deploying a simple Nginx container.
To get started, access the Portainer dashboard by navigating to http://localhost:9443 in your web browser. Log in using the admin credentials you set up earlier.
In the dashboard, go to the Containers section and click Add Container. Name the container nginx and set the image to nginx:latest, which will pull the latest Nginx image from Docker Hub. For port configuration, map port 80 in the container to port 8080 on your host by entering 8080:80.
After configuring the settings, deploy the container. Once deployed, open a new browser tab and visit http://localhost:8080 or http://serverIp:8080. If the deployment is successful, the default Nginx welcome page will appear.
This simple test confirms that Portainer is correctly managing your Docker containers. If issues arise, check the container logs within the Portainer interface by selecting the container and navigating to the Logs tab.
After following the steps in this tutorial, you should now have a fully functional Portainer setup to manage Docker containers on your Linux system. The tutorial guided you through installing the Portainer Server, configuring it, and testing the setup by deploying an Nginx container.
With Portainer, managing your Docker environments becomes more straightforward, allowing you to add and manage containers, monitor performance, and troubleshoot issues with ease. Whether you’re working with a single environment or managing multiple Docker instances, Portainer provides a unified platform to simplify your container management tasks.


